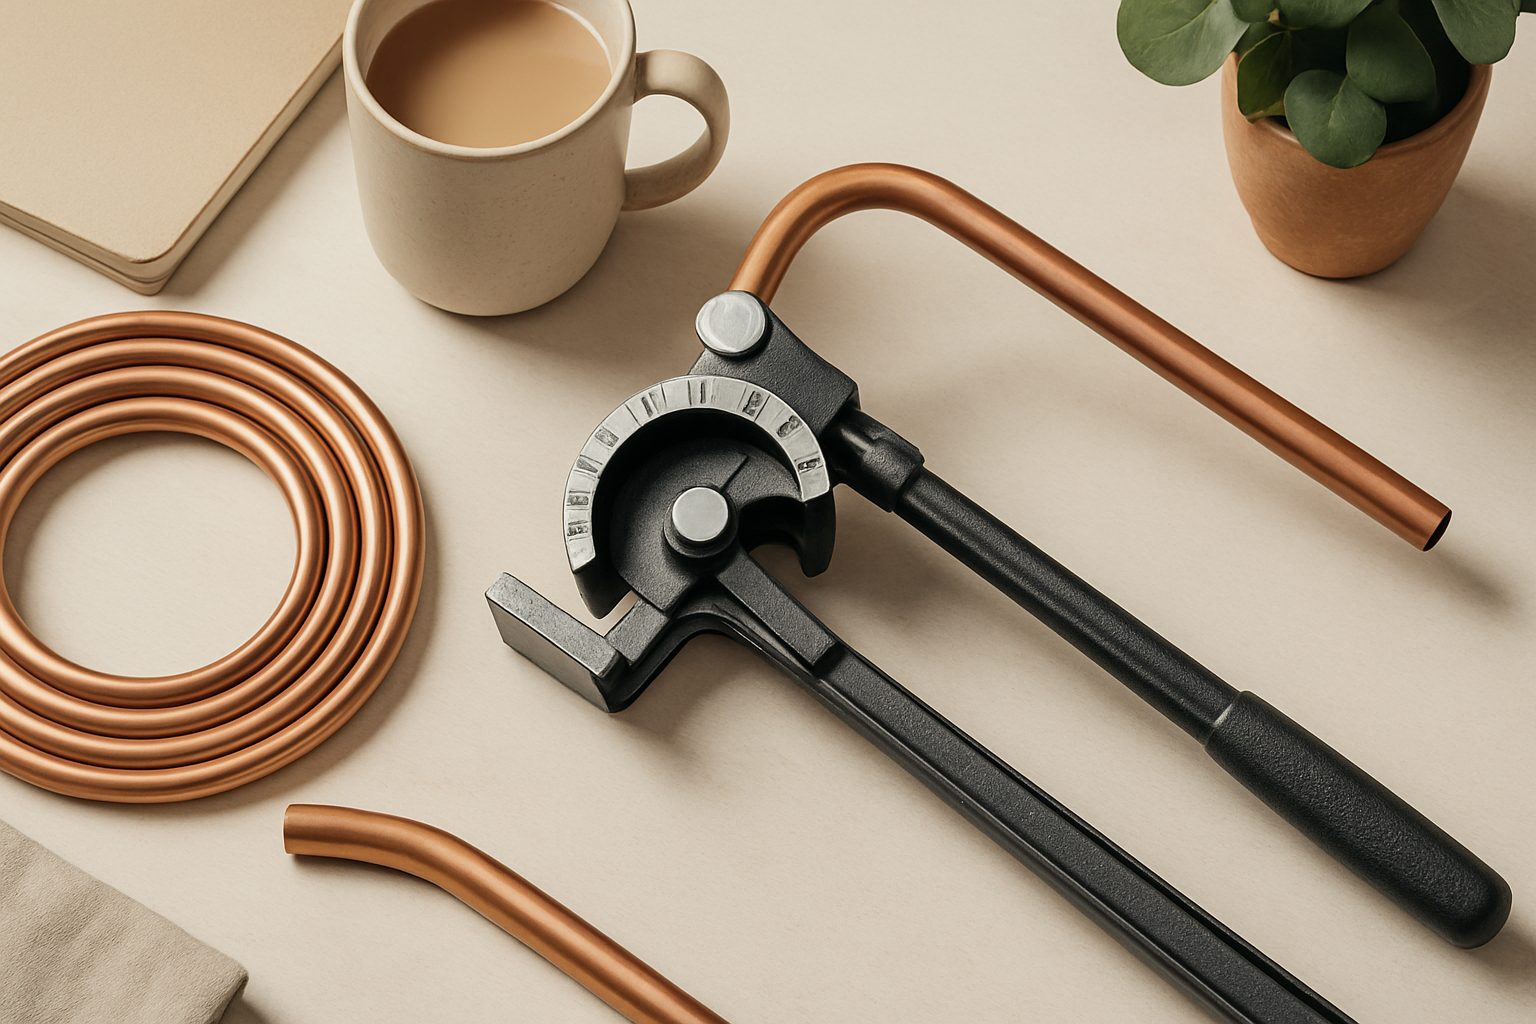
How to Use a Hydraulic Pipe Bender: Step-by-Step Guide for UK DIYers
Hydraulic pipe benders are one of the best tools you can own if you're working with copper, steel, or aluminium tubing at home. They take the guesswork out of bending and produce clean, consistent results that hand tools simply can't match. But if you've never used one before, the process can look intimidating. Once you understand the basic steps, you'll find they're surprisingly straightforward to operate safely and effectively.
Why a Hydraulic Bender is Worth Considering
Before diving into technique, it helps to understand what makes these tools valuable. Hand bending creates kinks, flattening, and uneven results that weaken the pipe and look rough. Hydraulic benders work by pressing the pipe against a former—a shaped die that determines the bend radius. The hydraulic pressure does the work, not your arms, so you get consistent bends every time.
The trade-off is cost and complexity. A basic hydraulic kit runs £200 to £1,000 depending on capacity and included formers. You'll also need space to set it up safely. But if you're doing more than a handful of bends—plumbing modifications, heating loops, fabrication work—the investment pays for itself quickly through time saved and material wasted avoided.
Understanding Pipe Diameter and Wall Thickness
Hydraulic benders come rated for specific pipe sizes and wall thicknesses. A kit rated for up to 22mm copper won't safely bend 28mm steel tube. Check your bender's specifications against your pipe before you start.
Wall thickness matters just as much. Thicker-walled pipes require more pressure to bend and are harder on the equipment. If your bender is rated for half-hard copper, using it on hard-drawn copper of the same diameter might cause problems. Always verify compatibility in the manual—pushing a bender beyond its limits can damage the pump or even cause the pipe to fail during bending.
Setting Up Your Bender Safely
Hydraulic benders need a flat, stable work surface. Set it up on a sturdy bench or vice stand where it won't rock. If you're renting equipment from a local tool-hire shop, bring it home with time to inspect it properly.
Check the hydraulic fluid level—usually visible on a dipstick or sight glass on the pump. Low fluid causes poor bending and risks damaging the pump. Top up with the correct hydraulic oil if needed (check your manual for the specific grade).
Inspect the formers and any attachments for damage or dirt. A speck of grit trapped between the pipe and former can cause uneven bending. Wipe everything clean before you start.
Cutting and Preparing Your Pipe
Cut your pipe to length and deburr the edges with a file or pipe deburrer. You'll need enough straight section before and after the bend point—typically at least 50-75mm depending on the bender. If your pipe is too short, there's nowhere to grip it safely.
Mark the bend point on the pipe with a felt-tip pen or chalk. Being accurate here matters. A marker pen gives you a clear visual reference as you work.
Loading and Positioning the Pipe
Different benders load pipes differently. Some have a cradle that holds the pipe steady; others require you to position it between the former and the base. Read your bender's instructions carefully—there's no single standard.
Position the pipe so the bend point aligns exactly with the apex of the former. This is crucial. Off-centre loading produces uneven bends and stresses the pipe asymmetrically. If your bender has guide marks or graduations, use them to check alignment.
Make sure the straight sections of pipe are supported properly and won't snag during bending. Long pipes can twist or drop if they're not held steady.
Executing the Bend
Pump the hydraulic handle slowly and steadily. Don't jab at it or apply jerky pressure—consistent, even pressure produces better results. Watch the pipe as it bends around the former. You'll usually see the bend happening gradually.
Stop when the pipe reaches the angle you want. Some benders have angle indicators; if yours doesn't, you can use a protractor, an adjustable angle gauge, or simply watch by eye if your bend is straightforward (like a simple 90-degree elbow).
Pause if you notice any kinking, flattening, or strange crackling sounds. These are signs something's wrong. Let the pressure off, unload the pipe, and check what's happening.
Unloading and Inspecting Your Work
Once the bend is complete, slowly release the hydraulic pressure. Let the former return to its starting position, then carefully remove the pipe.
Inspect your bend immediately. A good bend should be smooth and even with no flattening, cracks, or dents. The radius should match what the former promised. If it looks wrong—kinked at the sides, flat at the apex, or visibly cracked—the pipe may be unusable.
Run your hand along the bend. You'll feel any sharp spots or kinking. Light kinking on the inside of a tight bend is sometimes acceptable depending on the application, but obvious deformation means you either need a larger-radius former or were pushing the pipe beyond its limits.
Common Mistakes to Avoid
Load the pipe off-centre and you'll get an asymmetrical bend. Use the wrong former size and you'll flatten or kink. Rush the hydraulic pressure and the pipe can split. Use contaminated hydraulic fluid and you'll damage the pump. Each of these is avoidable with basic care and attention to the setup.
Next Steps
Once you're confident with basic bends, you'll want to explore different former sizes to expand what you can achieve. Before buying a kit, it's worth checking out detailed reviews of available options—a guide to hydraulic pipe bender kits will show you what different price points offer and help you avoid undersized equipment that forces you to upgrade later.
Hydraulic bending becomes easier with practice. The first few bends feel cautious; after a dozen, you'll work quickly and confidently.
More options
- Clarke Pipe Benders (Clarke PB16F & Clarke Strongarm range) (Amazon UK)
- Silverline Pipe Benders & Spring Bender Sets (Amazon UK)
- Monument Pipe Bender & Lever Bender Range (Amazon UK)
- Hydraulic Pipe Bender Kits (12T / 16T multi-former sets) (Amazon UK)
- Rothenberger Rocbend & Copper Pipe Bender Sets (Amazon UK)